
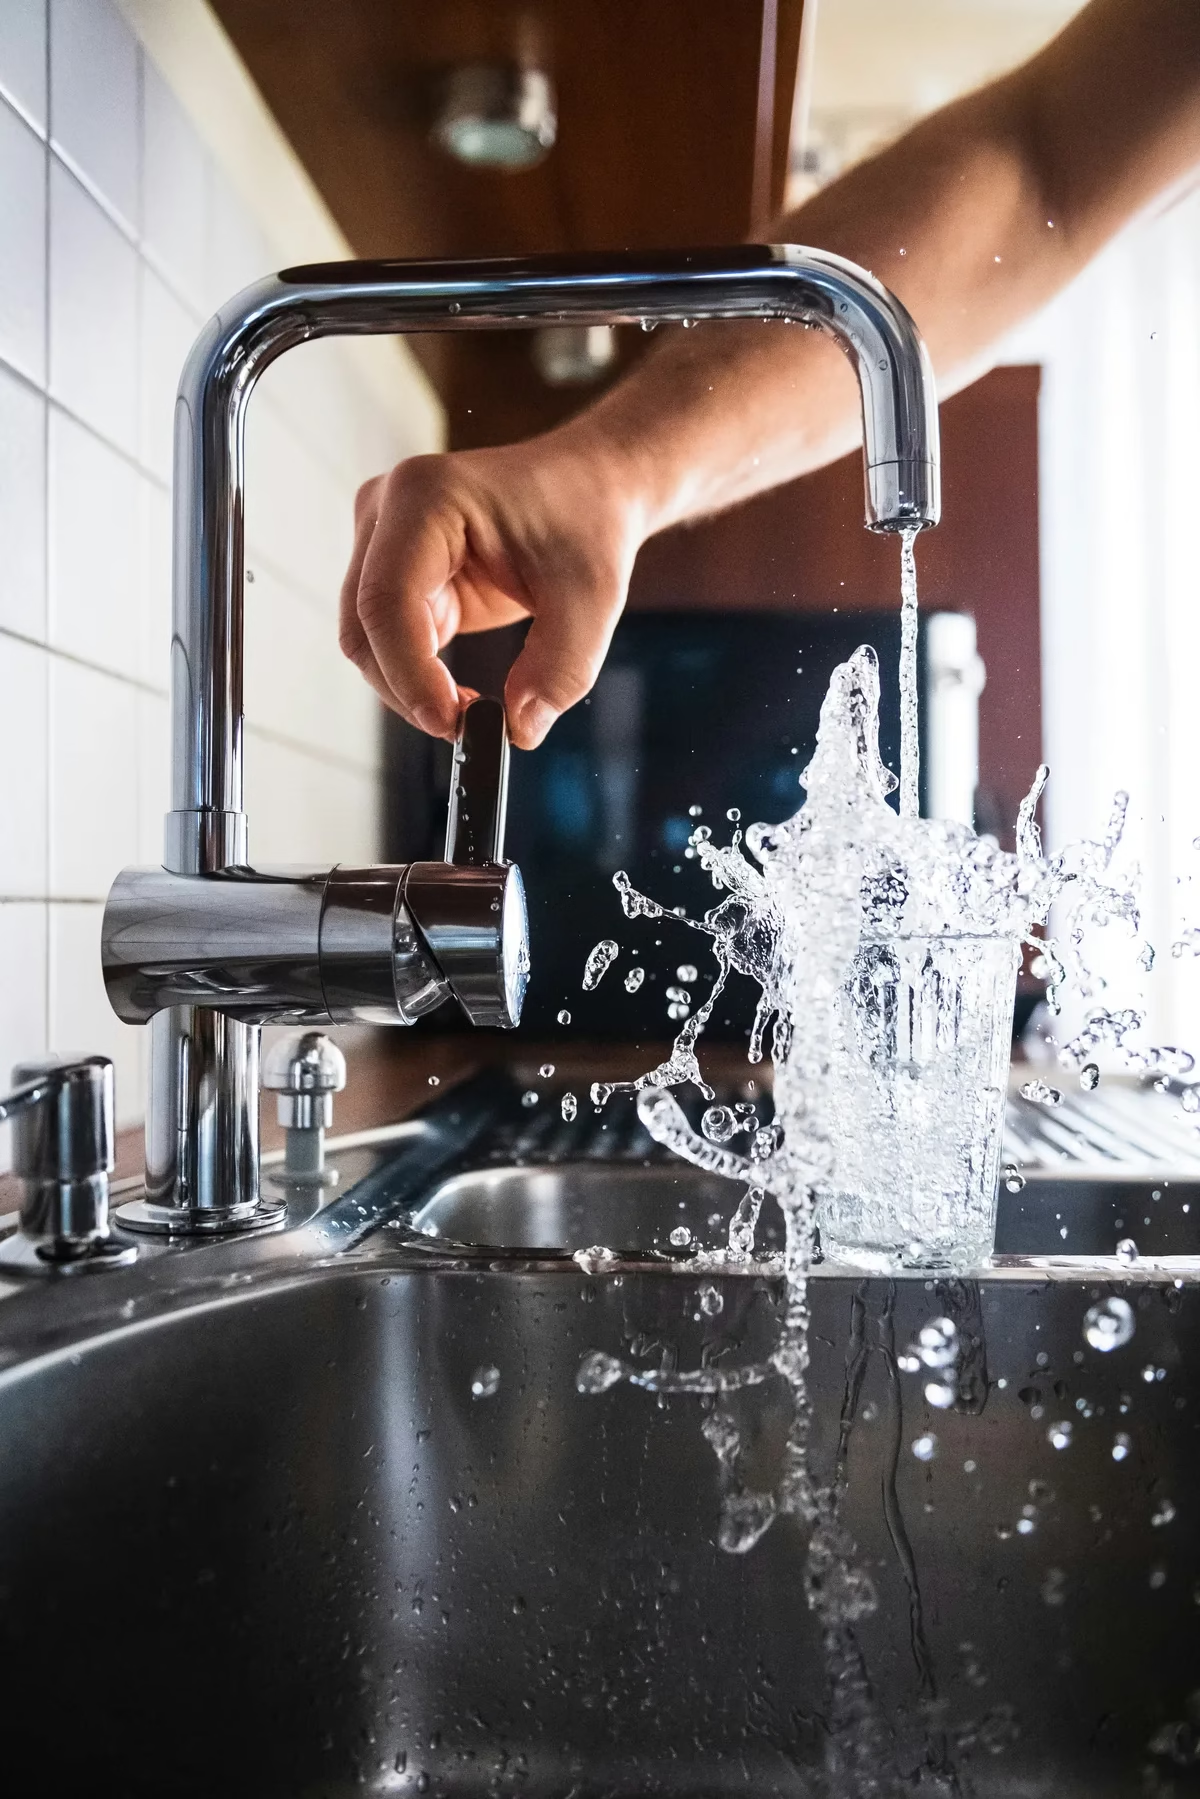
Why a Dripping Faucet Is Worth Fixing Now
It's easy to tune out the slow drip of a leaky faucet. But with water rates rising in municipalities across Canada — from Metro Vancouver to the Greater Toronto Area — even a modest drip adds up to real money on your water bill. Environment Canada and provincial water conservation programs have long flagged household leaks as a significant and largely preventable source of water waste. Fixing a faucet is one of the simplest, highest-return repairs a homeowner can make.
Beyond cost, an unaddressed leak can eventually cause water damage to cabinetry beneath the sink, promote mould growth, and signal a larger plumbing issue. The good news: most faucet repairs are genuinely DIY-friendly, require only basic tools, and use inexpensive parts available at any Canadian hardware retailer.
Step One: Identify Your Faucet Type
There are four faucet types commonly found in Canadian homes. Knowing which one you have determines everything about how you'll fix it.
- Compression faucets — The oldest style, with two separate handles you twist to tighten against a seat. Leaks are almost always a worn rubber washer or O-ring.
- Ball faucets — Single-handle designs that rotate over a rounded ball-shaped cap. Leaks typically stem from worn springs, inlet seals, or the ball itself.
- Cartridge faucets — Available in single- or double-handle versions. A plastic or brass cartridge controls flow and temperature; replacing the cartridge usually solves the leak.
- Ceramic disc faucets — A premium single-lever style using a ceramic cylinder. These are highly durable, but the disc can crack or sediment can clog the ports.
Tools and Parts You'll Need
- Adjustable wrench and/or basin wrench
- Flathead and Phillips screwdrivers
- Needle-nose pliers
- Replacement washers, O-rings, cartridge, or ceramic disc (match to your faucet's brand and model)
- Plumber's grease
- A cloth or small container to catch residual water
Replacement parts for most common faucet brands — including those sold widely at Canadian hardware chains — typically cost anywhere from a few dollars for washers and O-rings to roughly $20–$60 for a full replacement cartridge, depending on the brand.
Before You Touch Anything: Shut Off the Water Supply
This is the single most important step. Locate the local stop valve beneath the sink — there will be separate valves for hot and cold — and turn them clockwise until they stop. Then open the faucet to release any remaining pressure and confirm the water is off. This is a fundamental safety practice consistent with plumbing requirements under the National Building Code of Canada. Skipping it can turn a simple repair into a flooded cabinet.
How to Fix Each Faucet Type
Compression Faucet
Remove the handle by unscrewing the decorative cap and the screw beneath it. Use a wrench to unscrew the packing nut, then pull out the stem. At the base you'll find a rubber washer held by a brass screw — replace it. Inspect the O-ring on the stem and replace it if it's cracked or flattened. Reassemble in reverse order.
Ball Faucet
These have more components, so a manufacturer-specific repair kit is the easiest approach — kits include all the springs, seats, and O-rings you'll need. Remove the handle, then the cap and collar. Use needle-nose pliers to remove the springs and inlet seals, swap in new ones, and replace the ball if it shows wear. Lubricate new O-rings with plumber's grease before reassembly.
Cartridge Faucet
After removing the handle and any retaining clip, pull the cartridge straight up and out — note its orientation before removing it. Take the old cartridge to your hardware retailer to match it precisely. Insert the new cartridge in the same orientation, reassemble the handle, and test.
Ceramic Disc Faucet
Remove the handle to access the ceramic cylinder. Lift it out and inspect the ceramic discs for cracks. If intact, clean the disc ports with white vinegar and a soft brush to clear mineral buildup — this alone often resolves a leak. If a disc is cracked, replace the entire cylinder. Reassemble gently; ceramic components can chip if over-tightened.
When to Call a Licensed Plumber
Many faucet leaks are straightforward, but some situations call for a professional. In Canada, plumbing trades are provincially regulated, and licensed plumbers carry the credentials and liability coverage to handle more serious work safely. Consider calling a pro if you notice:
- Corrosion or rust on the pipes beneath the sink
- Water staining or soft spots in the cabinet floor — signs of ongoing water damage
- Low water pressure throughout your home, not just at one fixture
- Leaks that persist after you've replaced the relevant parts
- Any situation where you're uncertain about what you're looking at
Getting the diagnosis right the first time is always cheaper than a secondary repair. Use our Find-a-Pro Contractor Directory to connect with vetted, licensed plumbers in your area.
A Small Fix With a Real Payoff
A leaky faucet is one of the most approachable home repairs you can tackle on a weekend afternoon. With the right diagnosis, a few inexpensive parts, and the steps above, most Canadian homeowners can resolve the problem themselves — saving water, protecting their home, and building confidence for the next repair.